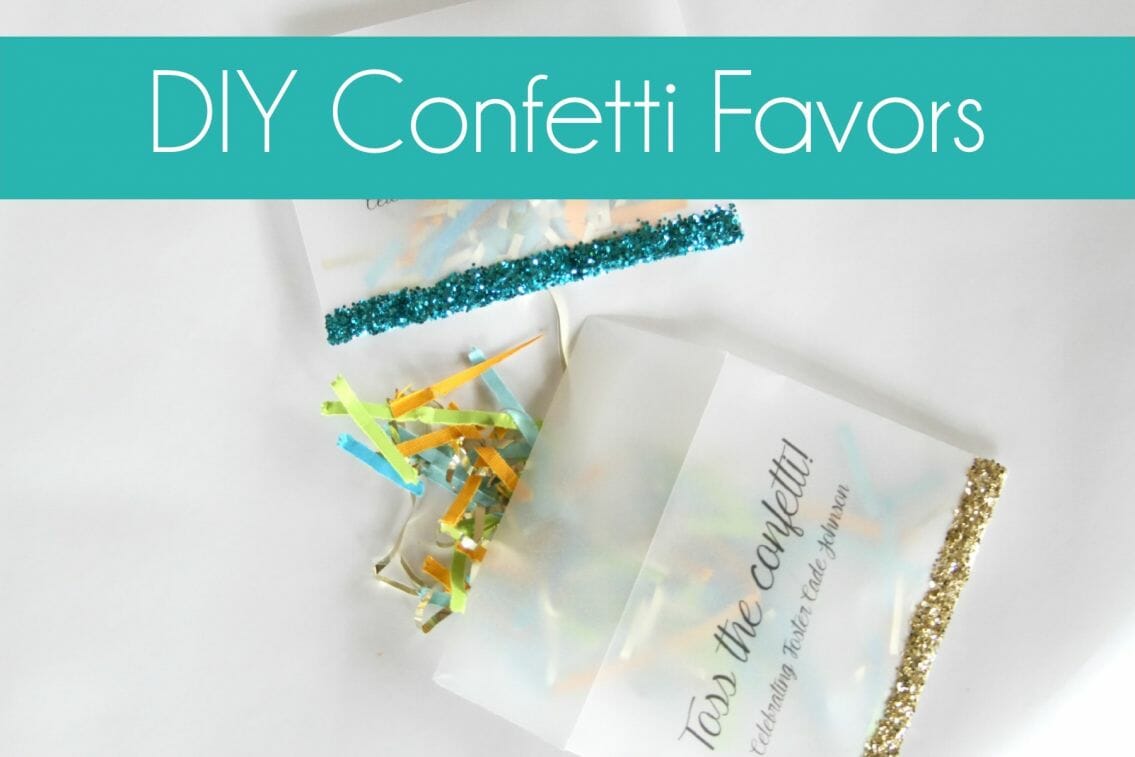
Bringing a new child in to this world is such a celebration! And this sweet boy that is arriving in four weeks is going to be one of the biggest celebrations ever!
When Luke was born I made champagne and cookie favors for the nurses, doctor and staff and it was one of the best things I ever did (you can see them in this post)! I highly recommend doing this. For this little man I decided to do the champagne and cookie favors but a different style and DIY confetti favors as well because every party needs confetti! I’ve got several blog posts planned on each of them but let’s start with the DIY confetti favors first!
Supplies:
- Vellum Envelopes – A-1 (4 Bar) White Vellum 3 5/8 x 5 1/8 (here)
- Glitter (colors of your choice)
- Card Stock (colors of your choice)
- Metallic Tinsel
- Paper Cutter, Scissors or shredder
- Printer
- Mod Podge
- Paint Brush
Begin making the confetti by cutting your card stock with a paper cutter, scissors or shredder. I did a little bit of all of these. Luke wanted to help me so I gave him some pieces to chop up. But most of it I sent through the shredder in just a few minutes.
After you’ve shredded all your card stock take your metallic tinsel and chop it with scissors into little pieces.
Now it’s time to print on your vellum envelopes. Create the design or wording that you’d like on the envelope. The font I used can be found here. This is a very easy project but this is the most complicated step depending on your printer. My printer is a bottom loaded printer and I kept having trouble with the ink smearing. Additionally, my printer wouldn’t print on envelopes this small. If your printer will print on an envelope this small then you can load just the envelope. However, if your printer is like mine, first measured off where the printing would be on an 8×11 sheet of paper and then tape the envelope to the paper in that exact spot. Then just hit print and tada! Another tip: Don’t touch the ink for a bit – let it dry really good.
Now it’s time for Luke’s favorite part…the glitter! I took a paint brush and painted on a strip of Mod Podge and then let Luke sprinkle the glitter. Once it dries and you shake off the excess, paint on a thin strip of Mod Podge across the glitter which will prevent it from falling off.
Let that top layer dry and then stuff with your confetti!
Don’t forget to pin to Pinterest!
This is my sTORI being written as you read. – Love, Tori


Love this DIY! So simple yet elegant.
Xo
Jeanie
http://www.thefashionlotus.com
Thank you!! It was fun!
Thank you!! Who doesn’t love confetti?!
Simple yet elegant. I’m going to share this blog with some of my friends who’re interested in hand-made artwork. You’re one of my favorite blog owners:) Keep it up!