
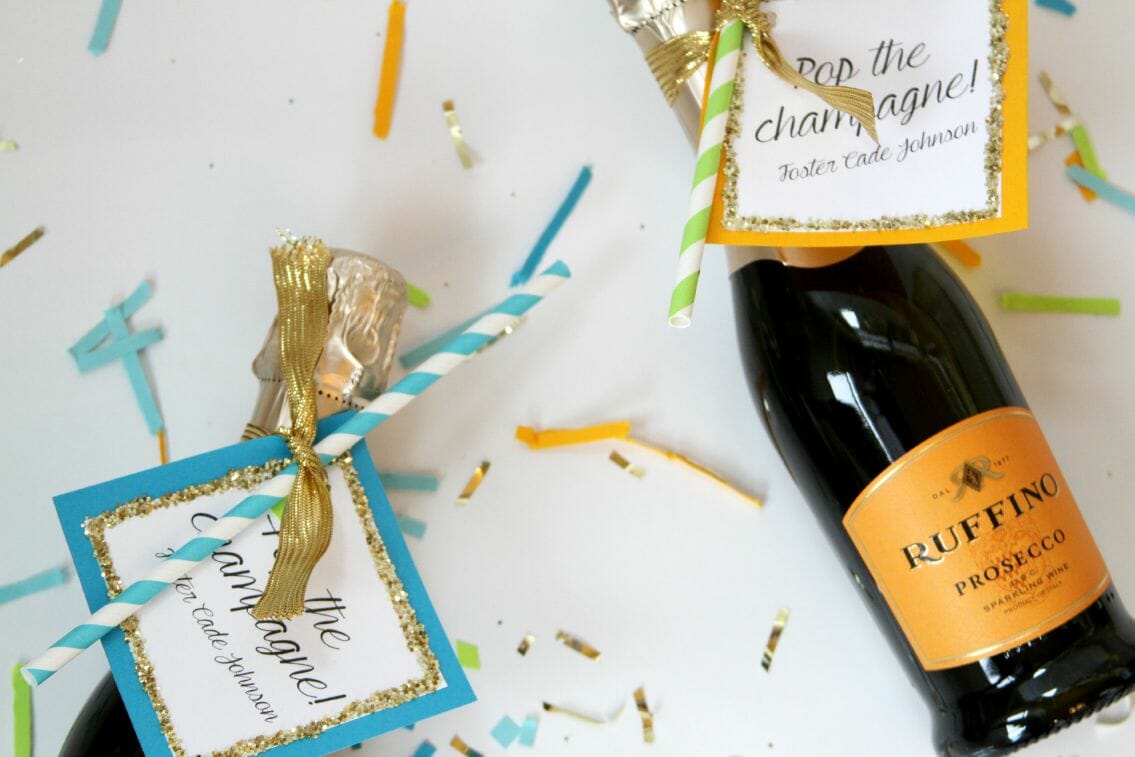
We are getting so close to Baby Foster’s debut! We are definitely getting ready to celebrate! It’s time to see the next favors I did for his arrival….DIY Mini Champagne Favors! If you missed my DIY Confetti Favors you can see them here. Technically, these are Prosecco favors but I’ve done these with champagne too!

Supplies:
- Mini Champagnes
- Straw
- Glitter (colors of your choice)
- Card Stock (colors of your choice)
- Ribbon
- Paper Cutter
- Hole Punch
- Printer
- Mod Podge
- Paint Brush

First design yourself a label. I created mine in Publisher but you really don’t need a fancy design program. Once you’ve created your labels print and cut them in to equal sized squares. You can make them whatever size you want.
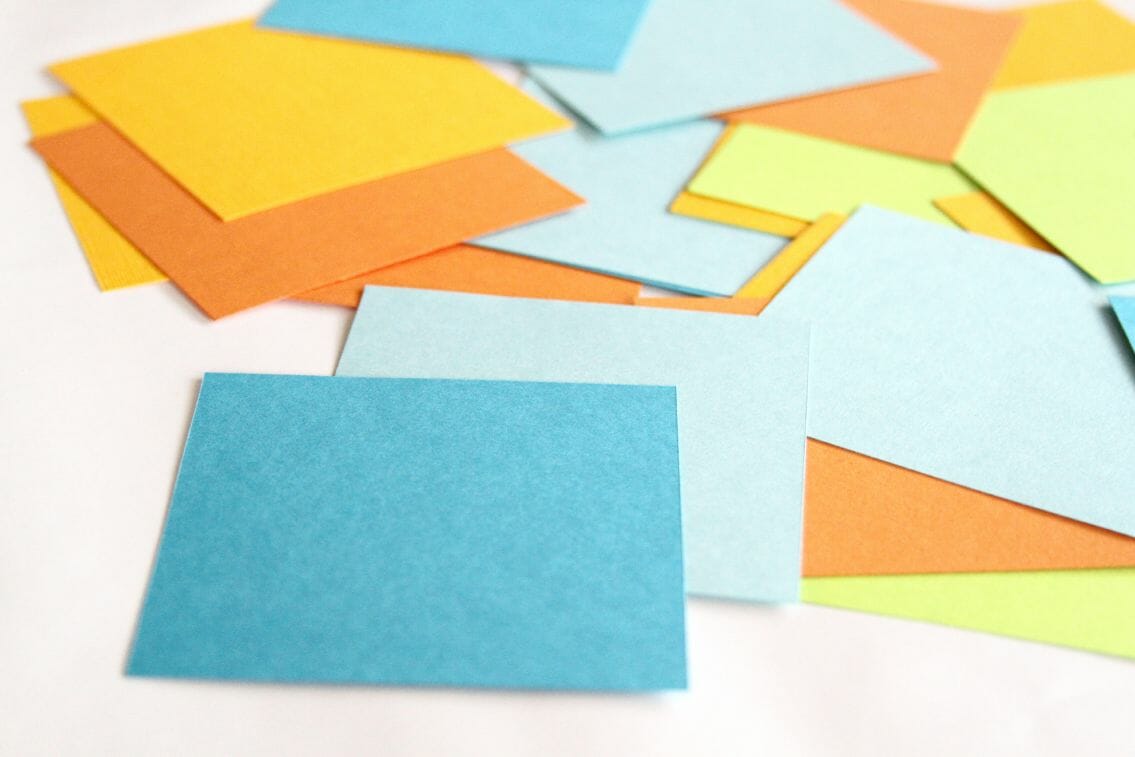
I wanted my favors to have some color so I also took some card stock and cut it into squares that were slightly bigger than the white print outs.
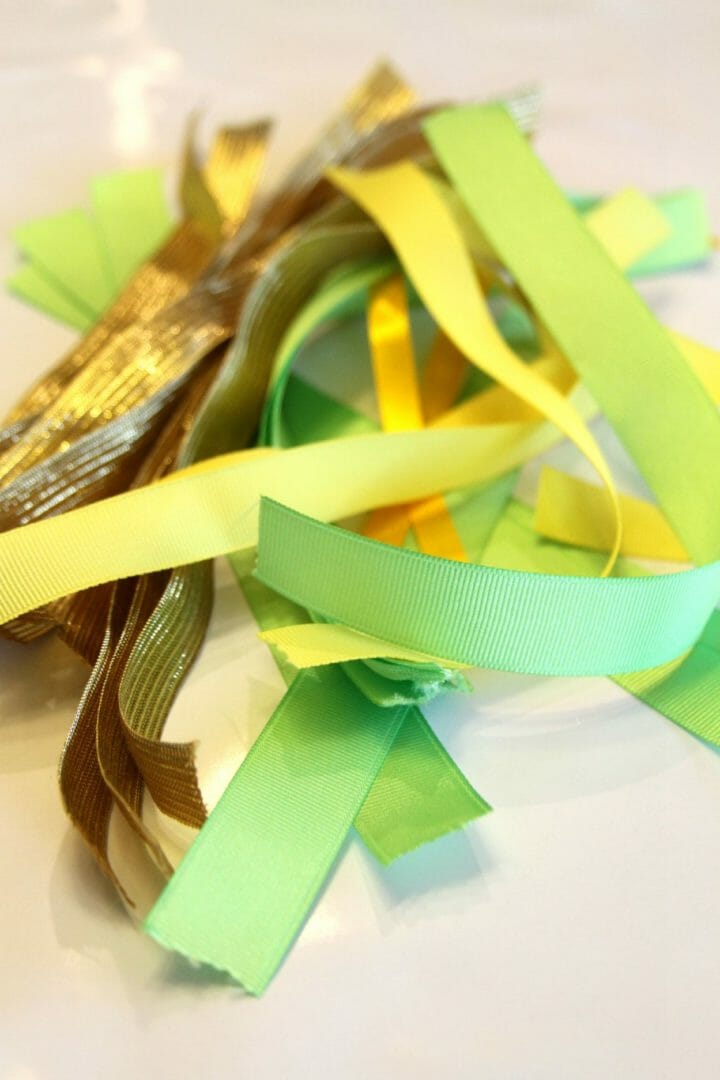
Then take the ribbon that you selected and cut it into lengths to tie your labels on to the bottle. You can make it long enough to tie bows or just knots in.

With your Mod Podge glue the labels to the card stock and then punch a hole in the top left corner to tie them on to the bottles.

With your Mod Podge then paint on a thin line of the glue along the border of the label. Then sprinkle the glitter over the glue line.
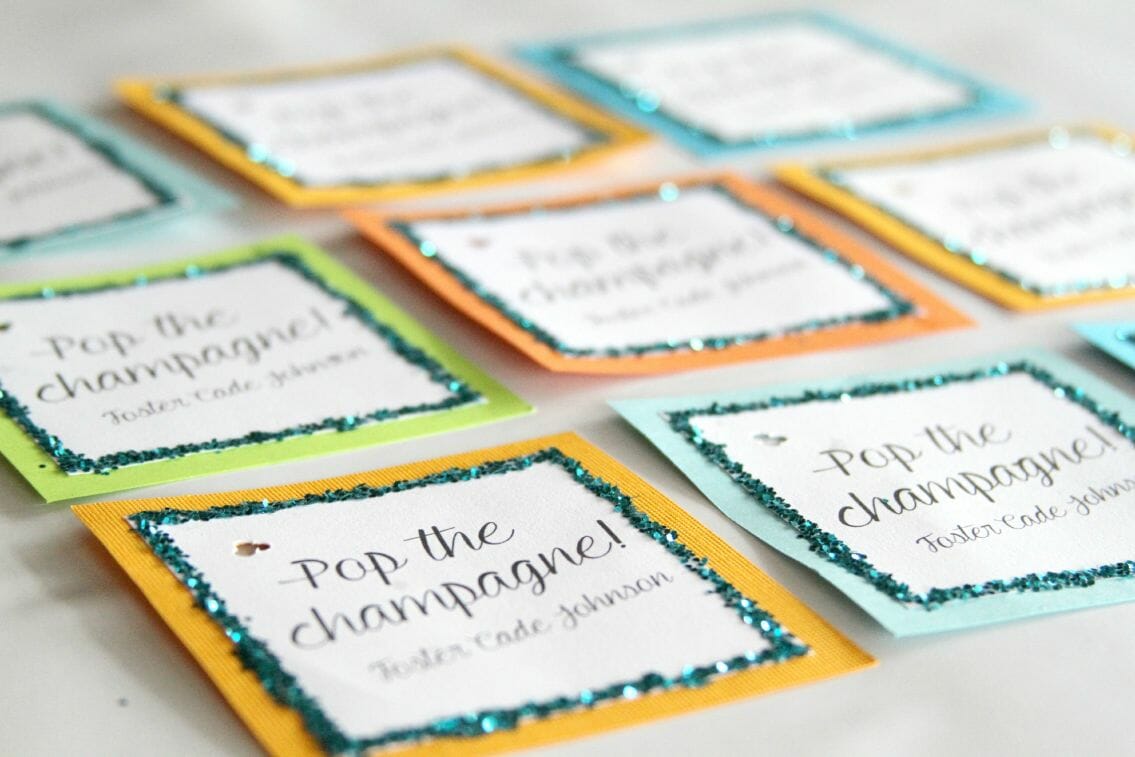
Once the glue and glitter is dry shake off the excess glitter. As you can see I did gold and blue glitter.

Now take your finished labels, straws and ribbons and tie everything on to the champagne bottles.

I hope you liked this fun DIY! Don’t forget to pin to Pinterest!


awesome idea!
Cute! Cute!
I love, love, love this idea – so cute!!
wonderful idea, thank you for sharing.
My pleasure! So glad you liked them!
[…] These pretty mini champagne favors seems very complicated to made. But to make one is not so difficult. Here is an easy way to DIY fancy favors with nail polish, paper and glue. Head over to see the tutorial here […]