
I am incredibly blessed to have a friend who is such a talented photographer. Pretty much all the beautiful photography that you see on my blog is by the incomparable, Candace Schaddelee, of Rememory Photography. She makes me feel beautiful in every photo, has captured some of the most precious moments in my life and truly looks at the world with a visionary pair of eyes. Today she is taking over my blog to share some of her knowledge with you!! She is giving some tips and tricks for an iPhone app that I love called, Mextures!
Mextures is one of my favorite phone editing apps. In this two part tutorial/tip series, I’m going to showcase some of the features I love about Mextures. I love this app so much that I got my husband to download it on his phone, and he loves it now too. We have little “photo of the day” contests with each other, where we will text the other a picture we took, and challenge the other to edit it.

Mextures is easy, fun to use, and taps into a great community for photographers and phone editing enthusiasts alike. With a little bit of practice, you can add style and cool effects to your photos for Facebook, Instagram, or for prints in your own home (which I have done by the way).
One of my favorite features about Mextures is the ability to layer effects, similar to Photoshop. In the Mextures app, they call these effects “packs”. There are three general types of packs; ones that add color, ones that add grain, and ones that add light leaks. Here are some of examples taken from my personal Instagram account, @CandaceSchaddelee:
1) Adding Color
When adding color using either the “Vintage Gradients”, “Radiance”, or “Landscape enhance”, keep in mind that you can go as colorful or as mild as you want. It all depends on your personal style. I like to add just a bit of color without making it look like I altered the photograph too much. Below you will see a photograph I took near Big Bend National Park, at night with the stars out. Here is the original:
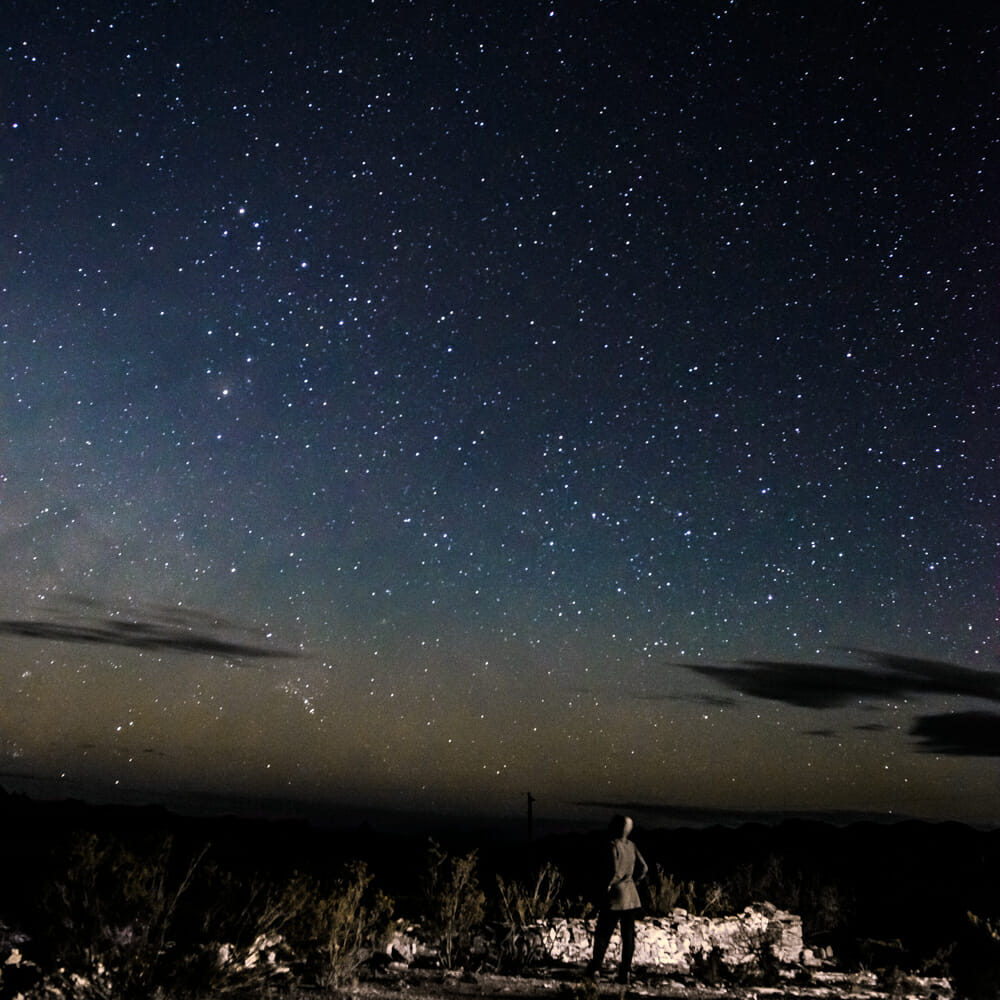
I knew that I was working with a great photo, but I wanted to bring out some color in the sky. It’s not often you get to see a star filled sky like that, and I wanted to make it pop. Here is the after:

I went into the Landscape Enhance pack, and chose neutral density. I almost always choose this option when working with landscapes because it evens out the light levels in your photo, giving you a perfect base to work with. Then I went to the Grunge pack, and picked out the Andromeda effect. This added those really pretty oranges, blues, and slight purple that you see in the sky. Adding color through Mextures takes a great photo, and boosts it to the next level.
2) Adding Texture
Working with textures in Mextures is honestly not something I do often, because I typically prefer a clean look. However, when used properly, it can take a photo and transform it into something you never thought possible. Check out this example below:
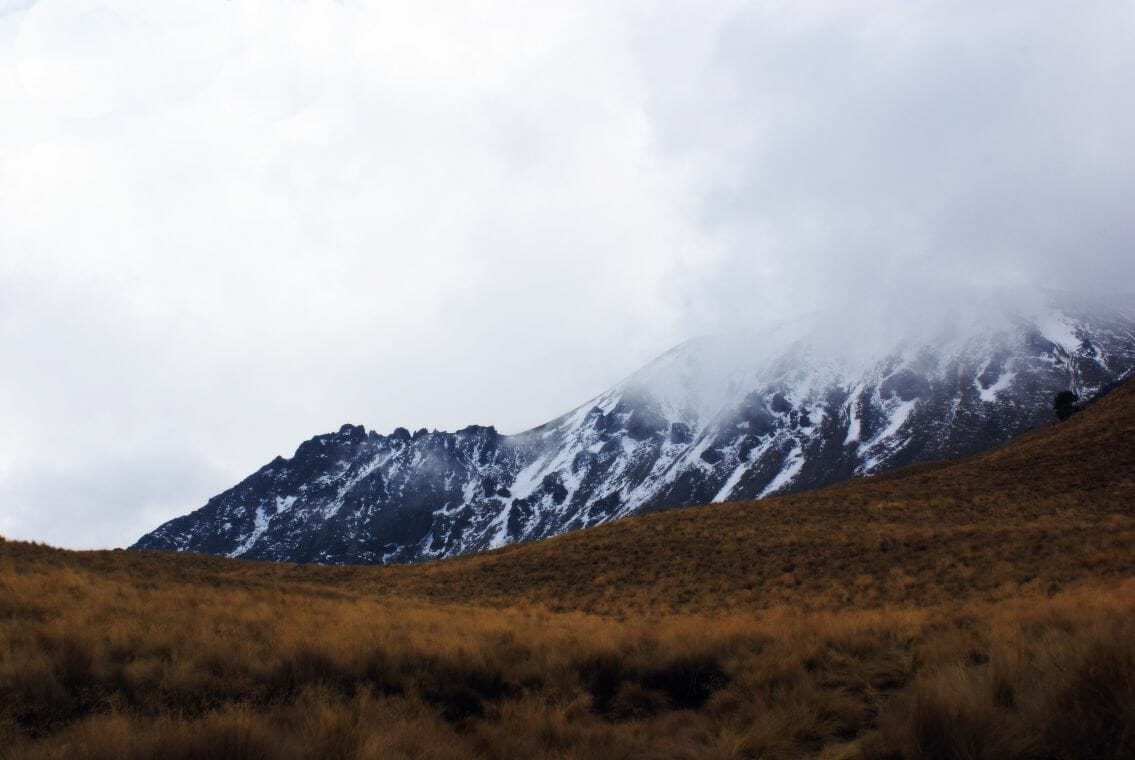
This is a photograph from @RavenReviews, released by Mextures Collective for free editing. I knew this photo was a beautiful base for something fun. I got the idea to turn it into an underwater landscape, since I had visited the Aquarium earlier that week, and water was fresh in my mind. I edited some fish into the photograph using photos I took at the Aquarium, and merged the photos together in Photoshop my computer. I then imported the photo into Mextures on my phone, and worked my magic.
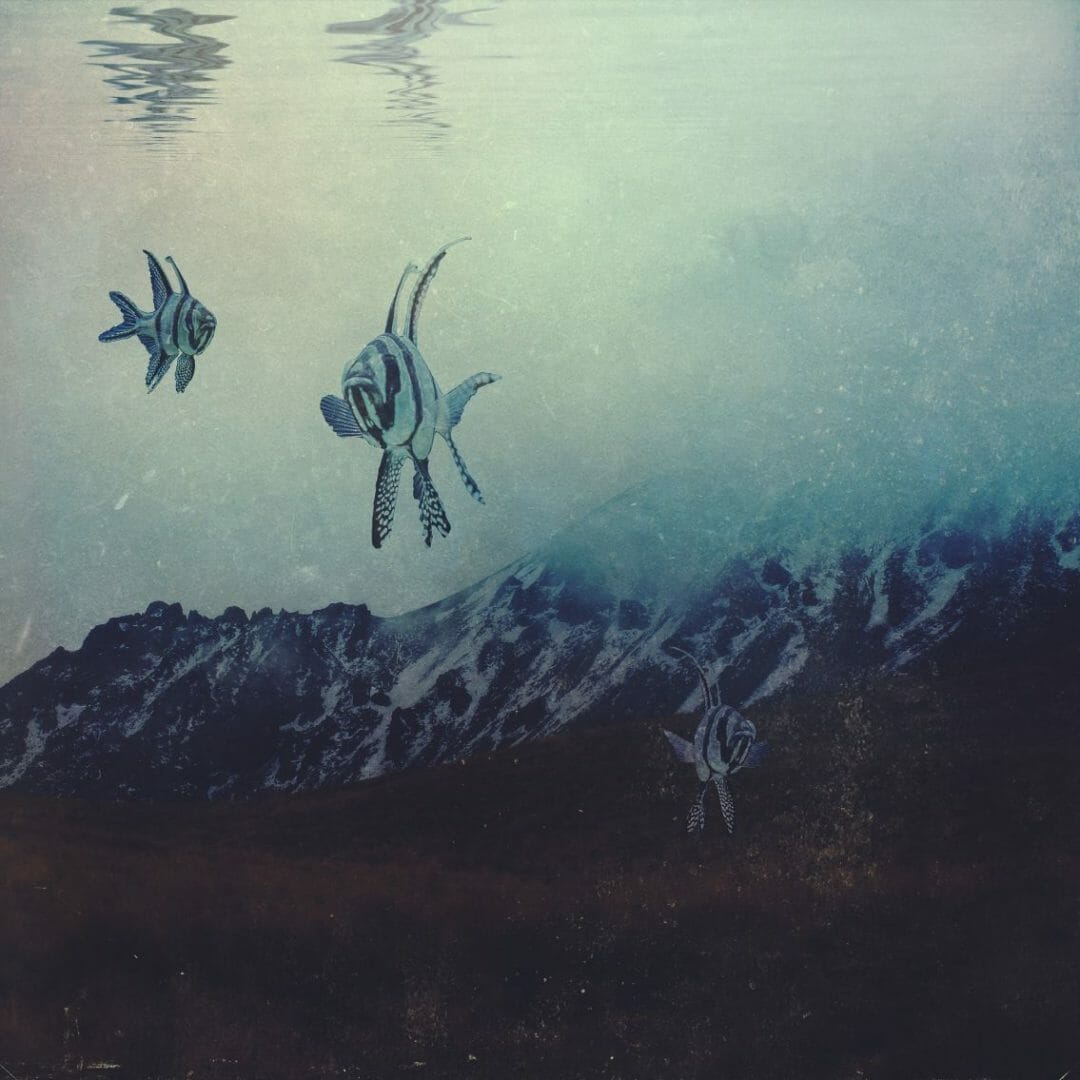
In one of the texture packs called Emulsion, there is an effect called Franklin, which provides this murky, gritty look that is mainly concentrated toward the top center of the image. I chose this because it gives that muddy, underwater look I was going for. In addition, the Grunge pack contains an effect called Binding, which gives a gritty, high grain all over effect, with a bit of blue concentrated on the top half of the photo. This also contributed to the underwater feel of the photograph. Using textures with intent and purpose can take a simple image and give it depth and complexity. Here is the final image:
3) Adding Light Leaks
Adding light leaks can do a couple things. One, it can make a photo mimic film, even old or destroyed film. Another thing it can do, which is what I typically use it for, is adding interesting light when perhaps the image fell flat on its own. Here is an example of a selfie I took of me and my son at the park one dreary day:

I love this picture of us, but the image was missing something. It was missing that interesting light element. So in Mextures, I simply went into the Light Leaks pack and chose the Portland effect, turning it so that the light shone down from the top. This made the photo look like there was some sunshine peeking over our heads, when in reality it was a cloudy day. I also put the photograph in Black and White, which is also something you can do all right in the Mextures app. Here is the final product:

Mextures is cool because you can use it for so many things! Landscape photos, pictures of food, pictures of people, etc. The features are endless, so playing around with the app will only help improve your editing skills.
Some other features you can do with the pack effects, is flip them in a clockwise fashion to get the angle of the effect you want. You can also change the blending option on the effect, which will allow you to highlight which area of the photo you want changed. There are also preset filters, similar to Instagram’s, however in my opinion, the Mextures ones are far superior.
In the next series I am going to discuss the community aspect of Mextures, where you can create “formulas”, which is essentially saving the work you created so you can use it next time in one simple click of the button. You can also share these formulas, as well as import formulas that other photographers have created.
Enjoy, and stay tuned for more tips and tricks!


Love the idea of this post Tori! 🙂
I’m so glad we got to pick your brain on it!!
Love the tip on this phone editing app and the photo editing tips! Downloading it now!!
You are going to love it! Can’t wait to see your photos!!
The editing task is already familiar to all but editing any photo using mextures is totally new to me. Thank you for explaining it in a such a detailed way.
Haven’t heard of that mexture thing. I might try that. If it offers a lot of features rather than having a simple editing tools. I might switch to it.
Simple but very nice, actually we know how to edit an image but some tips in it can make the image so unique than others. Fish in the sky really nice touch though. Added color effects are also very nice, and night stary sky remind me about my childhood, that was a time, when i can get enough time to see the stars right now. Very nice sharing man.
Love the tip on this phone editing app and the photo editing tips!…..now i am prepared to use it…thanks a lot.
Fast and easy photo editing can be made simple and speedy through making use of different software.